

Food & Drink
A Beginner’s Guide to Homebrewing
For the distillation process, you’ll need а home brew still that is simple and safe to use. There’s a range of affordable yet highly functional home brew stills on the market so there is no shortage of options.
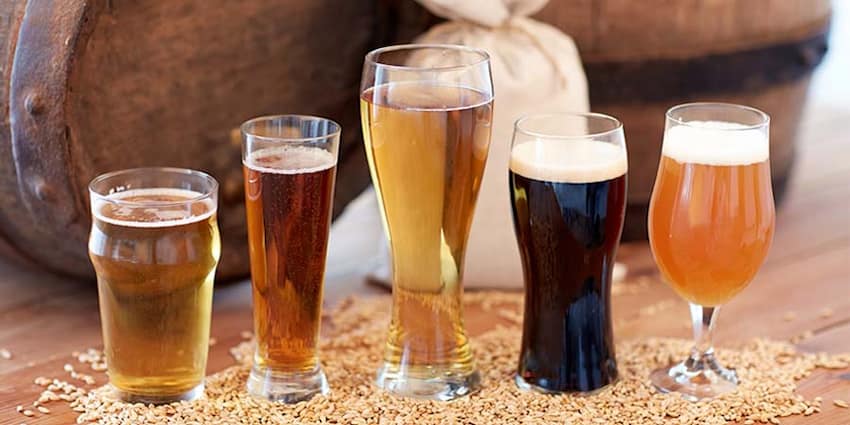
Nothing compares to a fridge that’s fully stocked with your favourite beer. You come home and you instantly think – I can finally crack open a cold one and wind down. So you pop it open and aaah, life is good. You’re instantly feeling refreshed and hydrated as the cold liquid drips down your throat. Then, you take a peek at the fridge to see how many you have left only to find out you don’t have any. Now that’s an inconvenience. And hopping down to the store is so tedious after a long day.
I’d like you to imagine a different scenario for a second – you actually have a never-ending supply of beer at the comfort of your own home and you never have to make trips to the store anymore. How? You brew your own beer at home. It’s tailored exactly to your preferences and it never goes out of stock. Sounds amazing, doesn’t it? And this can actually become a reality if you start homebrewing today. It’s honestly a lot easier than you think. Let me break it down for you.
What Are the Different Types of Homebrewing?
Basically, there are three main types of homebrewing – extract, partial mash and all-grain. Each one has its own ups and downs so let’s get right into it.
Extract Brewing
This type of brewing is the easiest and most convenient option for beginners. This is because all you do is use beer extract kits, either in powder or liquid form and boom – you have beer. You don’t have to do all the heavy-duty grain mashing because the kits already contain all the hops and malt necessary to make beer. Manufacturers pay close attention to other factors, such as pH balance so that you don’t have to worry about that either. Just follow the instructions on how to use the kits and it’s highly unlikely you’ll do something wrong.
Partial Mash Brewing
Here, the brewing process is divided into two – you get the sugar required for fermentation from the grains and the extract kits just finish the job. This gives way to greater chances of experimentation in terms of flavour and appearance. It’s the perfect middle ground between extract and all-grain brewing.
All-grain Brewing
It’s advisable to have at least some experience in the brewing department for this one so that you’re able to handle all the elements and techniques. You’ll need to invest more time, effort and money if you want to go for all-grain brewing because you will be doing all the legwork yourself. Don’t overthink things too much if you don’t get everything right the first time though, you’ll get the hang of it soon enough. After all, all-grain brewing gives you greater control over the process and outcome so you’ll have room for greater customisation.
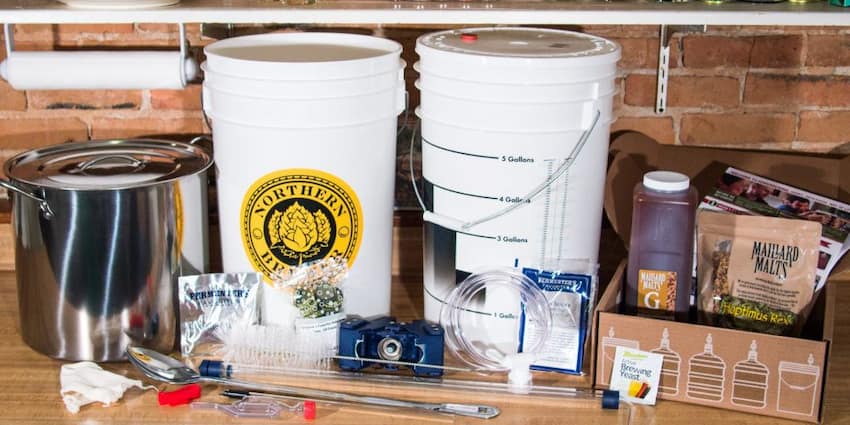
What Homebrewing Equipment Do You Need?
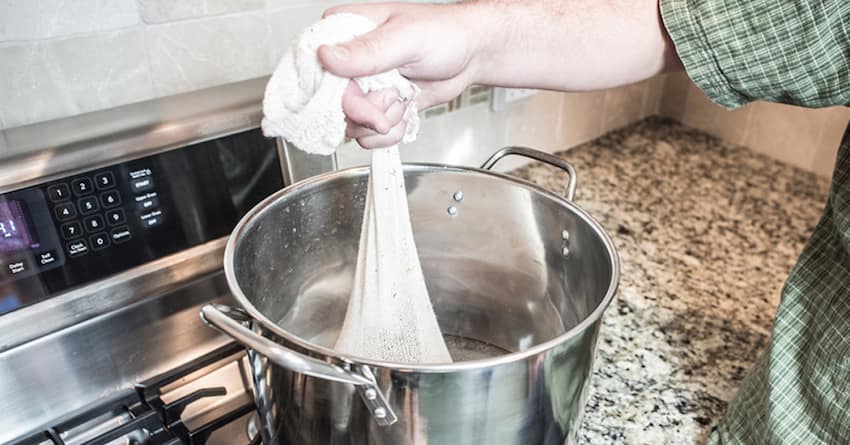
First, you’ll need to soak the grains into a container. Make sure you maintain a consistent temperature while the grains are resting in the liquid. Once you’ve prepared your boiling pot with pre-heated water, you’ll need to place the grains and hops and boil them for about 50 minutes. When the boiling process is done, you’ll need to transfer the concoction into a secondary, cool container in order to facilitate yeast fermentation.
For the distillation process, you’ll need а home brew still that is simple and safe to use. There’s a range of affordable yet highly functional home brew stills on the market so there is no shortage of options. Most distilling stills are either made of copper or stainless steel. Copper stills are relatively easy to manage and they also remove sulphides, which is a huge advantage. The downside is that if you want to get a high-quality copper still, you’ll need to invest more since they can get quite expensive. On the other hand, stainless steel brew stills are more affordable and cost-effective. You get great value for money since they still manage to get the job done. If you’re on a tight budget, stainless steel brew stills are a lifesaver.
A home brew still is available in two designs – pot and column stills. Pot stills are quite simple because they just consist of a pot in which you boil the ingredients, which leads to alcohol vapours being generated. The vapours are then collected and funnelled into a condenser which turns them back into liquid. As opposed to this, a column still is, as the name suggests, shaped like a column. This type of still is less-time consuming because it’s specifically designed to distil several batches of mash in one go and produce liquid at a much faster pace. If you want to get things done more quickly and efficiently, then we’d suggest investing in a column still. But you won’t go wrong either way as both options are great examples of a home still.
Benefits of Drinking Beer

When taken in moderation, beer can actually be quite beneficial for your health. It’s rich in helpful nutrients, such as antioxidants and vitamins to help boost your immune system. In addition, it improves the overall health of your bones and reduces the risk of osteoporosis. It also helps combat possible cardiovascular problems and heart complications in the future. And lastly, something that you might be most excited about, it gives you less of a hangover than other alcoholic beverages. All the more reason to get into homebrewing right?