


Industry
The Beginner’s Guide to Oxy-Acetylene Torch Kits
Since the 19th century, welding has been a big part of constructing metal bodies as small as a lighter to ones as big as a cargo ship. Now, not every welding torch or welding method is capable of building big ships since alongside the basic PPE you might need to pay attention to the type of welding process and the consumable equipment as well. If, for example, that process involves a mixture of oxygen and acetylene gas, then you’ll need more time to master the technique.
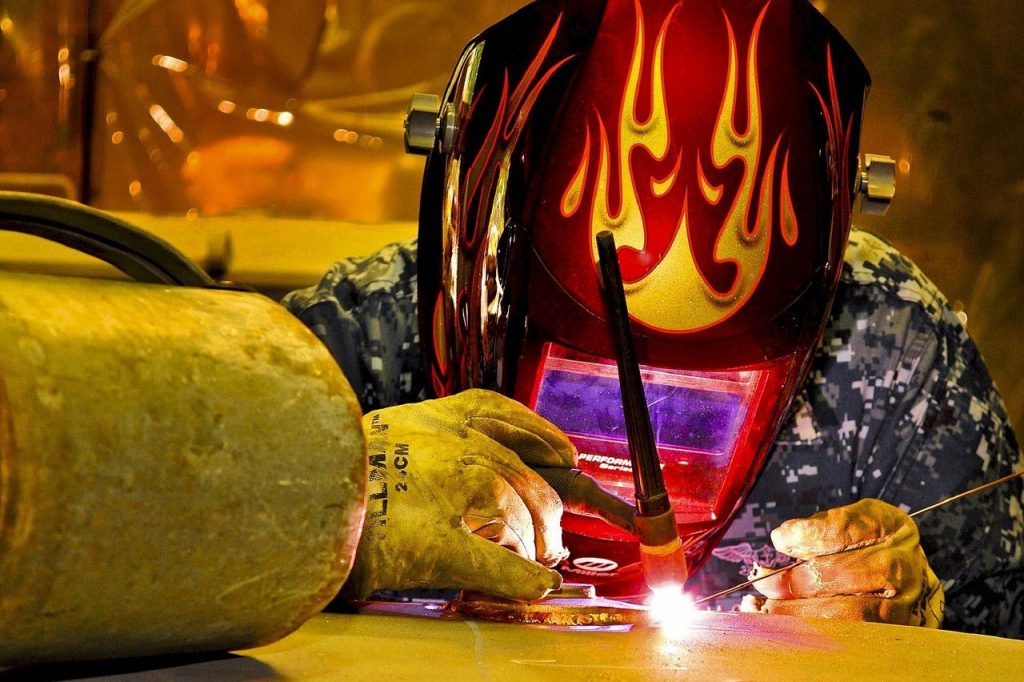
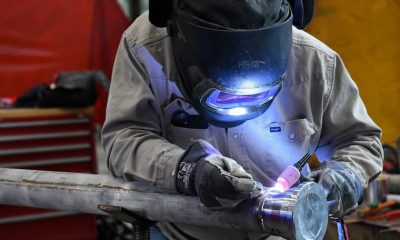
Oxy-acetylene welding, as it is also known, is one of the most popular welding processes. However, it can be quite complicated, as it requires making sure you have the right mixture and proper handling which requires time to acquire. This type of welding process involves temperatures as high as 1700°C, so you have to be extremely careful. But this gives oxy-acetylene welding an edge as it is able to melt all types of commercial metals. So, to make your beginnings easier, it’s best that you go for an oxy acetylene torch kit.
What Does the Oxy Acetylene Torch Kit Include?
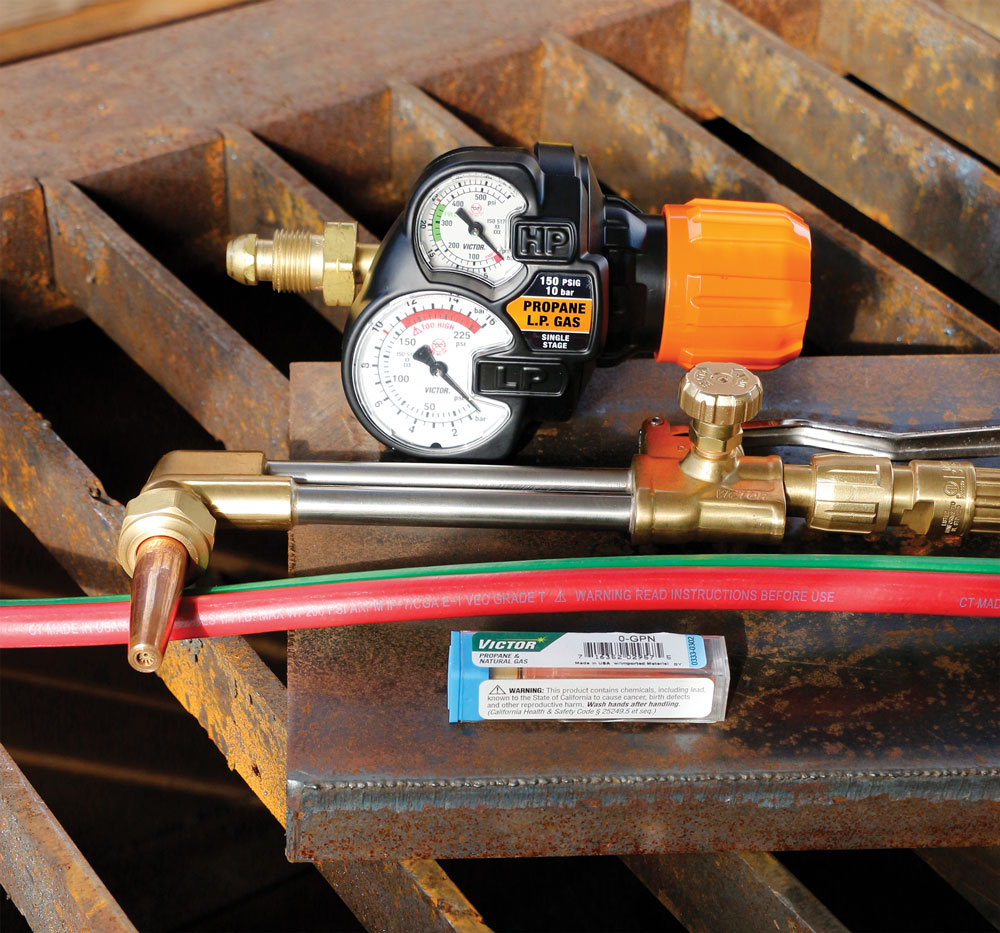
Regulators
The oxy acetylene torch kit will have all the necessary tools but not just for the sake of having them. Starting off with regulators, these components are going to help maintain a steady pressure and help control the gas. For that reason, regulators are a staple in every proper oxy acetylene kit. There are two main types of regulators, known as single and two-stage. Many welders recommend a two-stage regulator and rightly so, since they are far more reliable than a one-stage regulator.
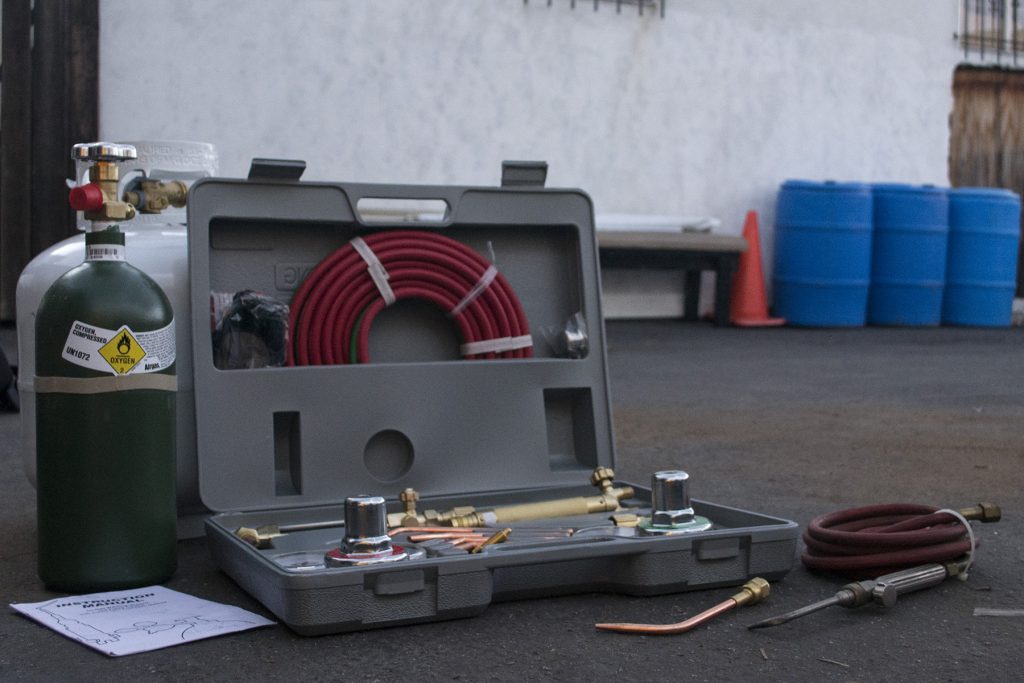
Hose
What connects the regulator and torch is the hose. In this case, it’s a double hose that has one green line for the oxygen and one red line for the acetylene. Whatever you do, make sure you get a long enough hose to allow you to work freely on your workbench.
Handle
When it comes to the torch, you need to pay attention to how comfortable it is to hold. This is why the handle has a big impact on your welding. A torch handle also needs to be durable, and one type of handle that has proven to provide all of this and more is a handle with built-in flashback arrestors. This helps prevent a flashback flame from going back to the pipe.
Tank
There is a possibility that your oxy acetylene kit will come with gas tanks. In case it does, make sure to check if they’re dot certified so you are able to refill them. Don’t go for kits that include plumber B tanks since they are not compatible with the majority of cutting torches.
Accessories
If you can get a kit with a few accessories, such as a quality striker to help start the flame or shade 5 glasses, then you’re getting a great deal. The latter should almost always be included as an accessory to an oxy torch kit, so if the kit you’re considering doesn’t have them, you might want to look for another kit.
Tips
The tip of the torch will be determined by what you want to weld. The thicker the metal you’ll be working with, the bigger the size of the top should be. The size of the tip can range anywhere between 000 up to 8 inches, allowing you to weld and cut metal that’s as thin as 0.8mm and as thick as 305mm.
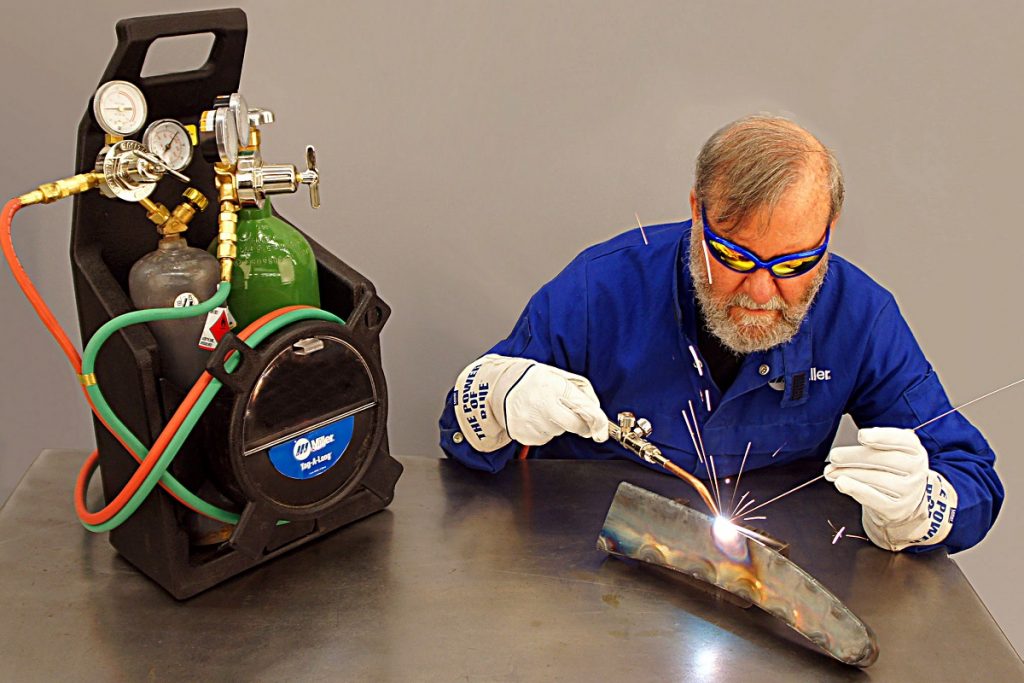
How to Use an Oxy Acetylene Torch
Setup
1. To start using your oxy torch you need to first set it up by assembling it according to the instruction manual provided in the box. Make sure to have the gas cylinder valves completely shut off and that the regulators are attached to the appropriate tanks by the type of gas they contain.
2. Avoid damaging the brass fittings by ensuring the adjustment knobs are fully closed and that the acetylene tank the gas cylinder valve is open at a 1/4 turn. On the acetylene regulator, ensure that the knob is turned clockwise until it’s reading 7 PSI.
3. On the oxygen tank, open the valve fully and then close it off with a quarter turn. On the oxygen regulator, make sure to turn the knob clockwise until you have the pressure reading at 40 PSI.
Torch
1. To light the torch, open the valve on the handle all the way and then open the acetylene regulator which is found on the handle by about an eight or quarter turn. After that, ignite the flow of gas at the tip of the torch by using the striker.
2. Make sure to increase the acetylene flow until you see the flame going orange and until it’s about 25 cm in length.
3. Then, slowly open the oxygen valve until you have the blue cone at the centre of the flame completely gone.
Cutting
1. To start cutting, you need to preheat the metal where the cut will start to get a clean start. Have your torch at a 90° angle to the metal to get a straight cut.
2. Make sure to cut at a constant speed so you get a smoother finish without any burning. If you’re cutting thicker materials, then you need to amp up the acetylene pressure. Don’t go over 15 PSI though, as it could cause an explosion.
3. Finally, make sure to not exceed the rated capabilities of the equipment and you’ll be safe. Otherwise, this can be extremely dangerous and it can also cause damage to the equipment you’re using.