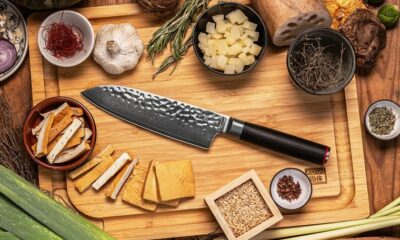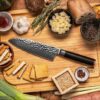


Kitchenware
How to Sharpen Kitchen Knives with Precision Using a Sharpening Stone
Working with a dull knife is a big cause of frustration in the kitchen. This not only makes it harder for you to chop up your fruits and veggies, but it can also pose a safety risk. You need to put in more effort to cut through food with a dull blade, so it can easily slide off the thick peel of an onion and catch your finger. In this step-by-step guide, I’ll show you how to sharpen your knives with precision so you can transform your cooking experience.
What Grit Should My Whetstone Be?
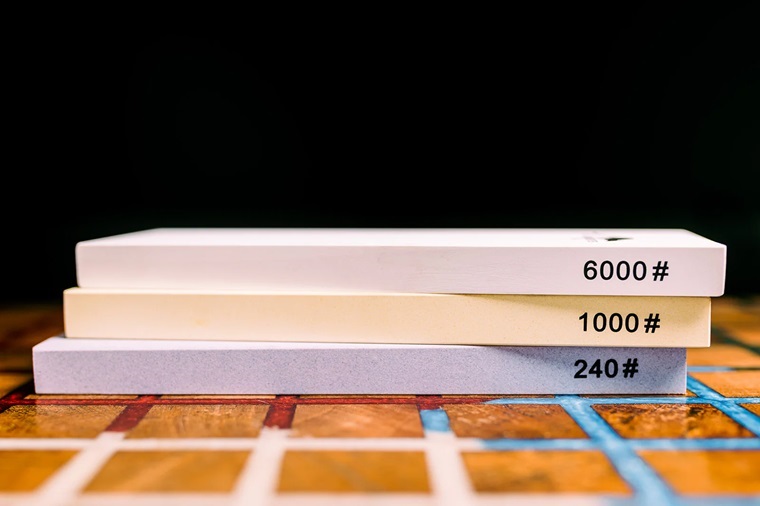
Grit essentially refers to the coarseness of the abrasive surface. It’s a crucial factor that determines the stage of sharpening your kitchen knives will go through. For your dull kitchen knives sharpening stones from top brands like Naniwa and Kaiden are game changers. They come in various grit sizes, ranging from 220 up to 10000, so you can hone your blades to perfection.
These brands are dedicated to quality, craftsmanship, and attention to detail and ensure that each stone delivers consistent results, which makes them reliable partners in the kitchen. Coarser grits, typically ranging from 200 to 1000, are the initial rough sketches. These grits are robust and effective, grinding down metal to reshape the edge and eliminate imperfections.
As you move up the grit scale, entering the medium grit zone around 1000 to 3000, you’re refining the lines on your blades. Medium grit styles play a crucial role in maintaining sharpness over time. They rectify minor imperfections on the blade surface without dramatically altering its structure.
Now, if your knives are already in decent shape but crave touch-ups or regular maintenance, consider the medium to fine grit range, roughly 3000 to 6000. This enhances the finesse of your blade’s edge without any drastic changes. For those who seek culinary perfection and desire an exceptionally sharp edge, venture into the fine to ultra-fine grits, around 6000 to 8000. This is the polishing phase, where you get a finish that glides effortlessly through food, elevating your kitchen experience to a new level.
Let Your Stones Soak
But how do you get to a perfectly sharpened blade? The first step is to soak your whetstones in water for a minimum of 45 minutes before use. This is because if the surface isn’t properly soaked, it’ll quickly start to dry, and it will catch on the knife. This can result in nicks and dents on the blade’s edge. You should submerge both your stones as well as your fixer.
Prepare Your Station
The next step is to set up your sharpening station. Cover your cutting board with a piece of cloth and lay your sharpening stone over it. If you want to keep it wet while you’re sharpening, have a glass of water close by. You should position the short end in a way that it aligns with the edge of your counter.
How to Position the Knife?
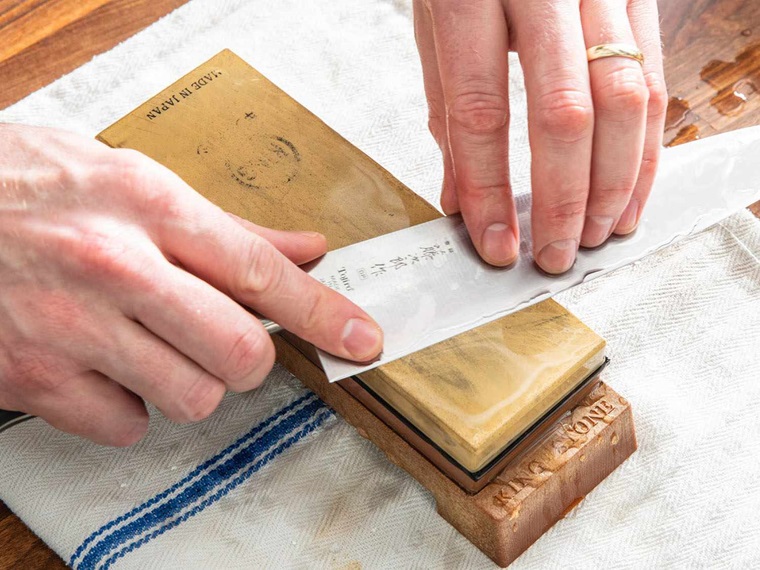
It’s best to start with a lower grit size of about 200 to 1000. Grasp the knife tightly and position it at a 15–20-degree angle, placing the heel of the knife right at the edge. Applying steady force, gradually slide the knife down in your direction, while consecutively pushing it so that the point of contact approaches the blade’s tip.
When you drag the knife over the stone, make sure to keep the angle between 15 and 20 degrees. The pressure you apply should be gentle yet strong. As you pull, the blade should slide across the stone with ease. If you can’t manage to keep your angle, consider using an angle guide.
Silty Water and Burr
As you go through these steps repeatedly, you’ll notice a layer of silty water gathering on top of the whetstone. This gritty liquid will slowly remove material from your knife’s edge, sharpening it in the process. As you keep making the same strokes, you’ll notice a little burr on the opposite side of the blade.
You can check this by putting the knife on your thumb and drawing it back. If there’s some burr, it should feel somewhat rough on your thumb, however, you won’t notice this if the stone is particularly fine, say grit number 2000 or higher. This may require up to thirty or forty strokes, and it’s a sign that you should switch sides on your knife.
Turn To the Other Side
Once more keeping the angle between 15 and 20 degrees, lay the blade’s heel close to the base of your knives sharpening stones and hone the other side. With the tip of the blade remaining at a 15-to-20-degree angle, your stroke should finish with the stone’s upper edge. If it starts to dry up between strokes, don’t forget to hydrate it. Continue using the same number of strokes that you used until you got to the burr on the previous side.
Test It Out
Once you’ve sharpened your blade, line the edge with honing steel and evaluate its sharpness. Some people suggest holding up a sheet of paper and cutting through it to try to cut it in half. In my experience, the ideal test is to try and cut up a vegetable. If you can cut a tomato into thin slices that you can see through, you’ll know that you’ve done a good job.