Home & Garden
The Whats and Hows of Vinyl Floor Installation
Are you a DIY flooring enthusiast seeking a new project? Vinyl flooring installation is a terrific DIY project that may save you money and give you the satisfaction of having done it yourself. Uncertain about where to begin? Chances are you already have the equipment and knowledge required to instal vinyl flooring if you consider yourself to be fairly handy around the house. Even if you’re a total newbie, installing vinyl flooring is simple to learn.
Step 1: Determine Your Layout
Choosing the direction the planks should run is the first step in laying vinyl plank flooring. To account for cutting waste, it is crucial to plan. You should consider any electrical or natural lighting sources, the room’s shape, any unique characteristics, and of course your own preferences.
Running your vinyl planks along the most prominent wall in the space or parallel to the primary source of light (such as a window) opens up the space and is aesthetically pleasing. You might want to keep the boards uniform and running in the same direction as the hallway if the room is off of one. Typically, if you were to floor an entire house, you would want the planks to go from the front entrance to the back wall.
Once you’ve decided in which direction you want your planks to run, it’s time to start squaring your room. Before beginning, some people prefer to draw out how the layout will look. By ensuring that the layout will turn out exactly how you want it to, sketching or laying a “dry run” might help you save a lot of time and hassles later.
Step 2: Prep
So, the first part of the next step is probably the hardest: waiting. Whether choosing glue-down or floating-type vinyl planks, they should be allowed to acclimate inside your home for at least 48 hours in the space where they are to be installed. Another important thing to do is to choose the suitable multipurpose dispersion floor tile adhesive for the job.
Vinyl planks, along with other types of flooring, can change dimensions slightly depending on the temperature and humidity they are exposed to and good adhesive can prevent this. Also, acclimating the product helps keep this material’s natural expansion and contraction from becoming a problem after installation.
Complete the remaining preparation work on your list while you are waiting. Install transitions at the doors if you are only putting vinyl planks down in one area. Where one type of flooring meets another, transition pieces create a tidy appearance. Consider the two types of flooring you are fusing to choose the transition piece that will work best for your floor.
You should use a t-mould if the two types of flooring are hard surfaces and are roughly the same height. The optimum choice can be a threshold or reduction if one is lower than the other. Many manufacturers produce transition strips that are the same colour or design as the flooring.
The transition piece is typically provided with a moulding track, which is a u-shaped piece of metal that may be cut to the necessary length and fastened to the subfloor. This component can be fastened to wooden flooring with screws, nails, and adhesive. Remember, you will also need a multipurpose dispersion floor tile adhesive for a variety of flooring materials that is solvent-free and emits very little pollution.
This kind of useful flooring adhesive provides excellent initial and final grasp and is appropriate for heterogeneous and homogeneous PVC coverings, luxury vinyl tiles and plank, rubber sheets and tiles up to 4mm, as well as textile coverings with latex. Assuming your subfloor is smooth, you’re now ready to start laying your flooring!
Step 3: Start Your First Row
What now that your preparation work is finished and your layout is established? Your first set of planks should be ready for installation. Choose the side of the room where you will begin laying the planks. When putting your own vinyl planks, you’ll quickly learn that walls are rarely straight. Don’t let uneven flooring result from uneven walls!
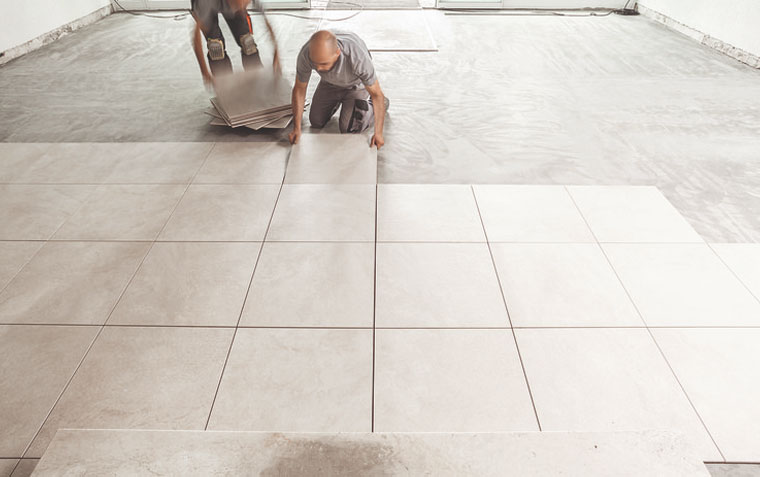
If you need to make an angle cut on your initial row to keep everything straight, square the flooring up against the wall. Similar to how you square a room before installing tile, vinyl planks need to be squared before installation. Once your first piece has been accurately cut, you are prepared to begin installing your vinyl planks.
Step 4: Lay Out Your Vinyl Planks
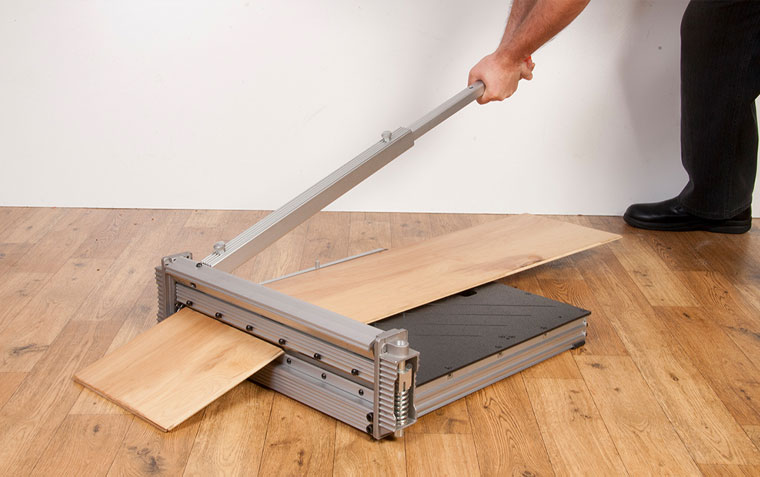
Use your tape measure to measure the length of your final piece once you reach the end of your row. Make the necessary length cuts on your vinyl plank using a carpenter’s square. Use a circular or table saw rather than attempting to score and snap the vinyl planks if they are very thick or if you are only removing a small portion of a board. Keep in mind that the purpose of vinyl plank flooring is to offer a long-lasting substitute for hardwood flooring.
You want the boards to have an erratic and seemingly random pattern. Laying the planks out like bricks will make them appear unnatural. Laying the flooring out continues one row at a time. Mark your boards and trim them to fit as you approach door jambs and other features of the room. When cutting vinyl, go slowly and remove a few bits at a time. This might need you to make even more cuts, but you can always remove more than you add.
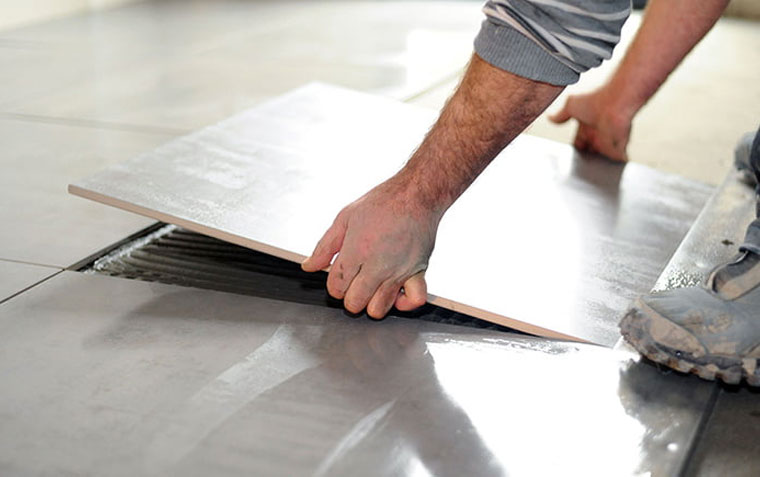
Check the groove of the previously laid plank if a plank just doesn’t seem to want to click into place. This groove can occasionally become clogged with debris or pieces of flooring, making it difficult for the next board to slide into place. To gently remove anything that might be obstructing the groove, use your razor knife.
Step 5: Finishing Touches
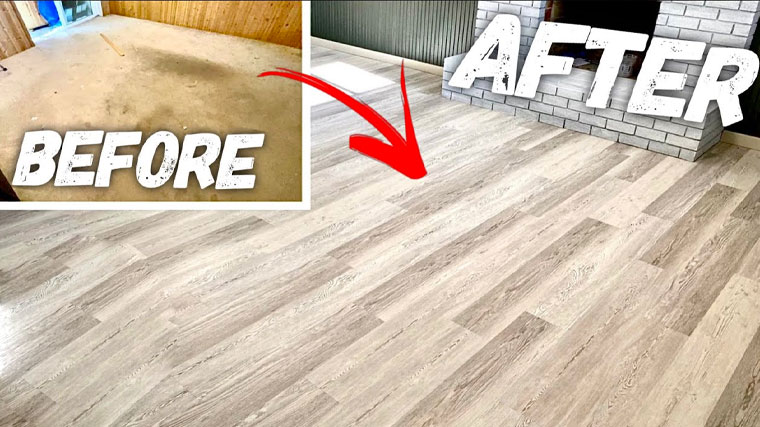
Your floor should now be completely fitted and stunning! Use your drawbar and rubber mallet now to check that each board is securely fastened in place. Remove all of the spacers that you had previously taped to the wall after the floor is completely secure. It’s time to affix your quarter-round or shoe mould at this point. Use a brad nailer to instal the trim work after cutting the trim to fit.
Make sure the brad nails you use for baseboards go into the baseboards and not the flooring when using a nail gun. Keep in mind that floating floors must have some degree of mobility. That is avoided by securing your trim to the floor rather than the wall or baseboard. Now, it is strongly advised that you hire a professional to complete this task if any of this causes you to feel uneasy or if you need help figuring out what will work best within your space.